How do I crop a picture?
Double-click the picture (or select it and click the Crop picture button that appears below it). Black crop handles appear: drag one inward to trim that side, drag inside the picture to move it in its frame, and scroll to zoom. Press escEsc or double-click again when you're done.
- In Publisher
- Picture Format, then Crop
- In Korva
- Double-click the picture, or the Crop picture button
Cropping hides part of a picture without deleting it. The whole picture stays in your file, so you can change your mind later.
Crop the edges
- Click the picture to select it. A small toolbar appears below it.
- Click Crop picture (the first button), or double-click the picture.
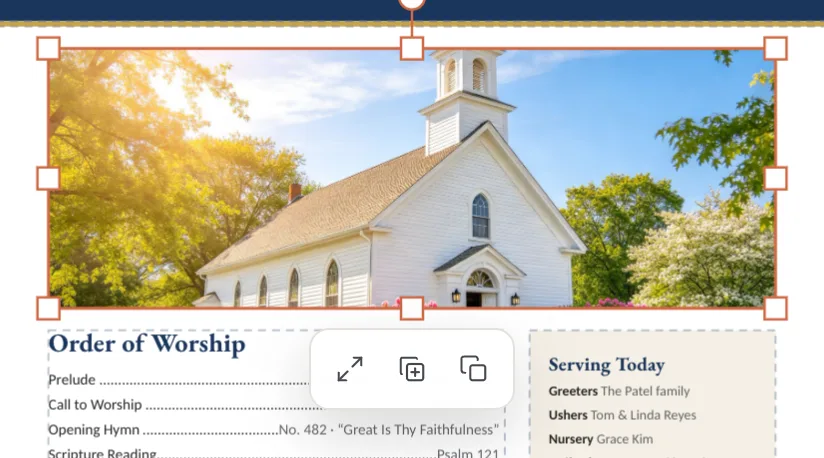
- 1Crop picture
- Korva is now in crop mode. Thick black handles appear at the corners and in the middle of each side, and a note at the bottom of the window says Crop mode.
- Drag a black handle toward the middle of the picture to trim that side. A corner handle trims two sides at once.
- To choose which part of the picture shows, drag inside the picture to move it within its frame. Scroll with your mouse wheel or trackpad to zoom in or out.
- Press escEsc, double-click the picture, or click somewhere else on the page to finish.
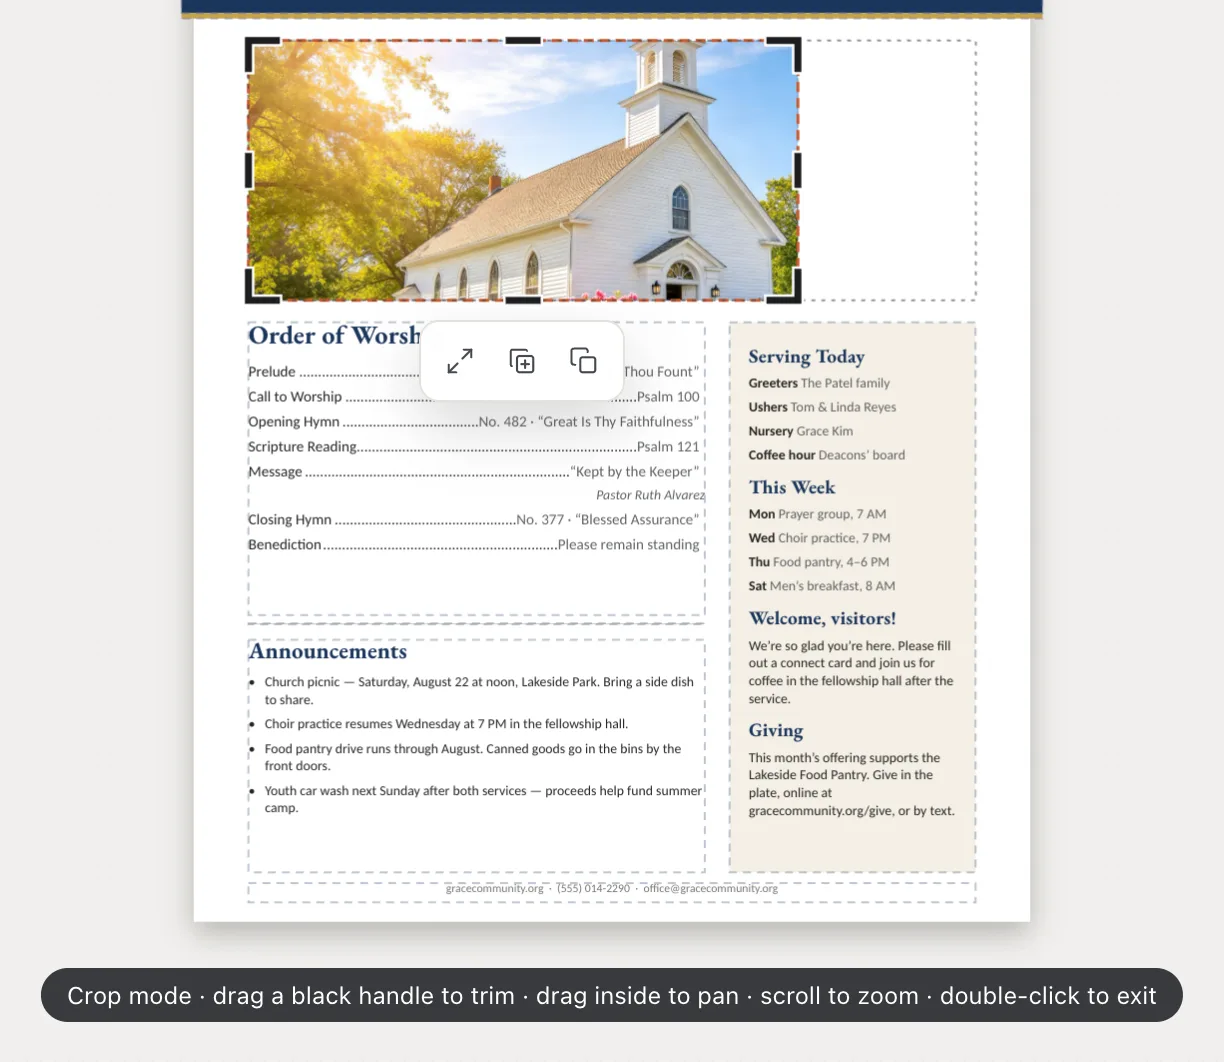
- 1Crop mode
- 2Drag a black handle
Crop to a circle or another shape
- Select the picture.
- In the Format pane on the right, open the Picture tab and find the Crop group.
- Choose a shape from Crop to shape: Oval, Rounded, Triangle, Diamond, Pentagon, Hexagon, Star, Arrow or Chevron.
The picture is cut to that shape inside its frame. For a perfect circle, make the frame square first: drag a corner handle, or type the same W and H under Arrange, then Position & size in the Format pane.
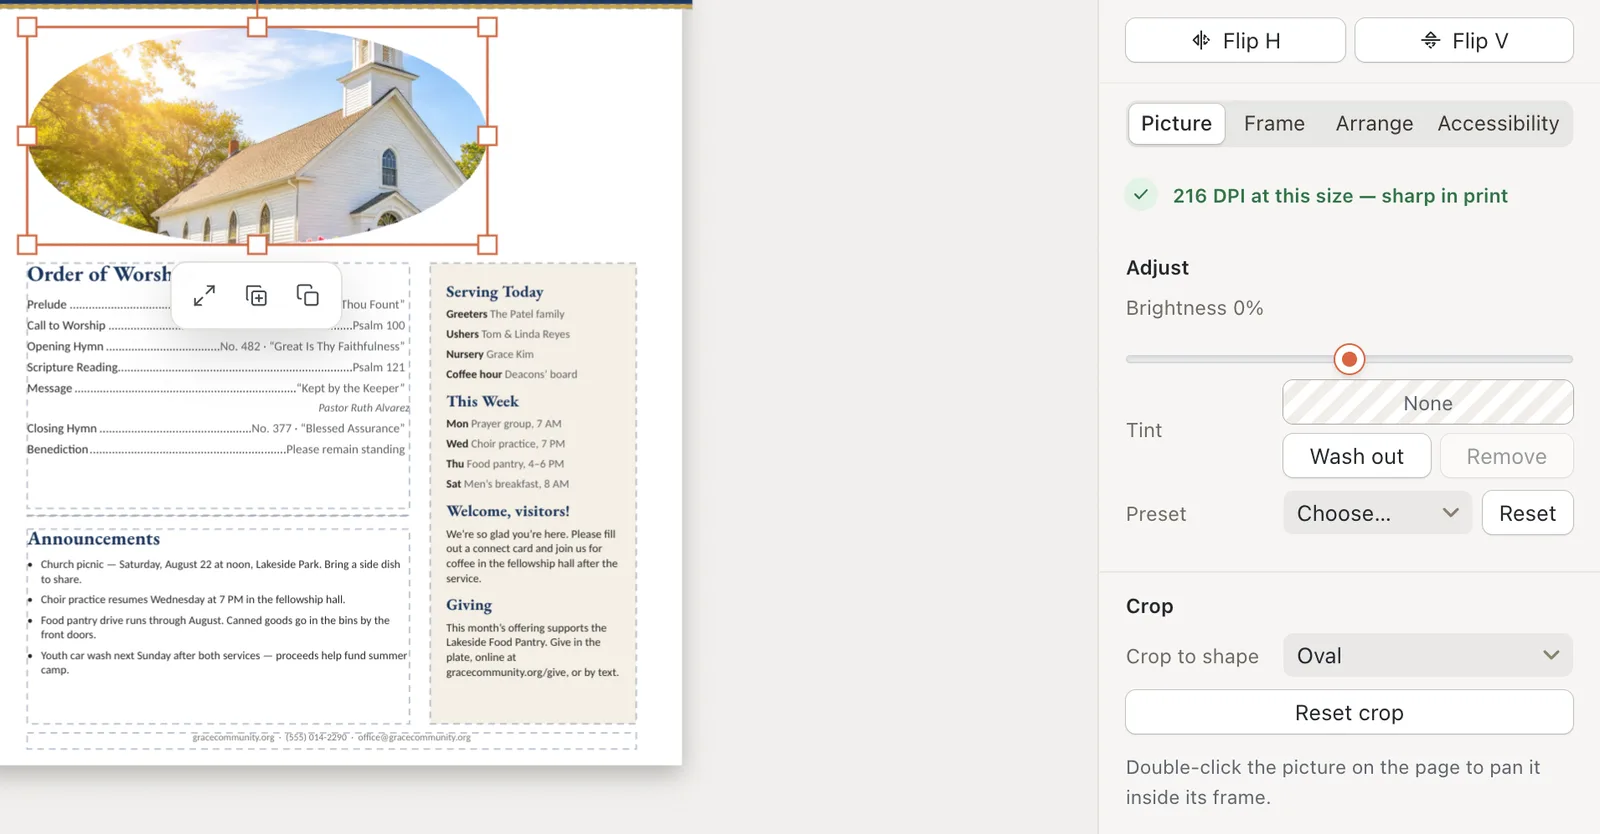
- 1Crop to shape
- 2Reset crop
Undo a crop
- Press ⌘ZCtrl+Z straight after cropping.
- Or select the picture and click Reset crop in the Crop group. The whole picture shows again.
- To take off a shape crop, set Crop to shape back to Rectangle.
If it still doesn’t work
Double-clicking the picture does nothing
The picture is probably locked. Right-click it and choose Unlock, then try again.
Double-clicking opens a file window instead
That frame is an empty picture placeholder, so there is nothing to crop yet. Choose a picture to put in it first. See Insert a picture.
The cropped picture looks blurry when printed
Cropping and zooming enlarge the part of the picture that shows, so it has less detail to print. Check the note at the top of the Picture tab. If it says may look soft in print, crop less or use a larger copy of the photo.
Something wrong or missing in this article? Email support or open an issue on GitHub.